

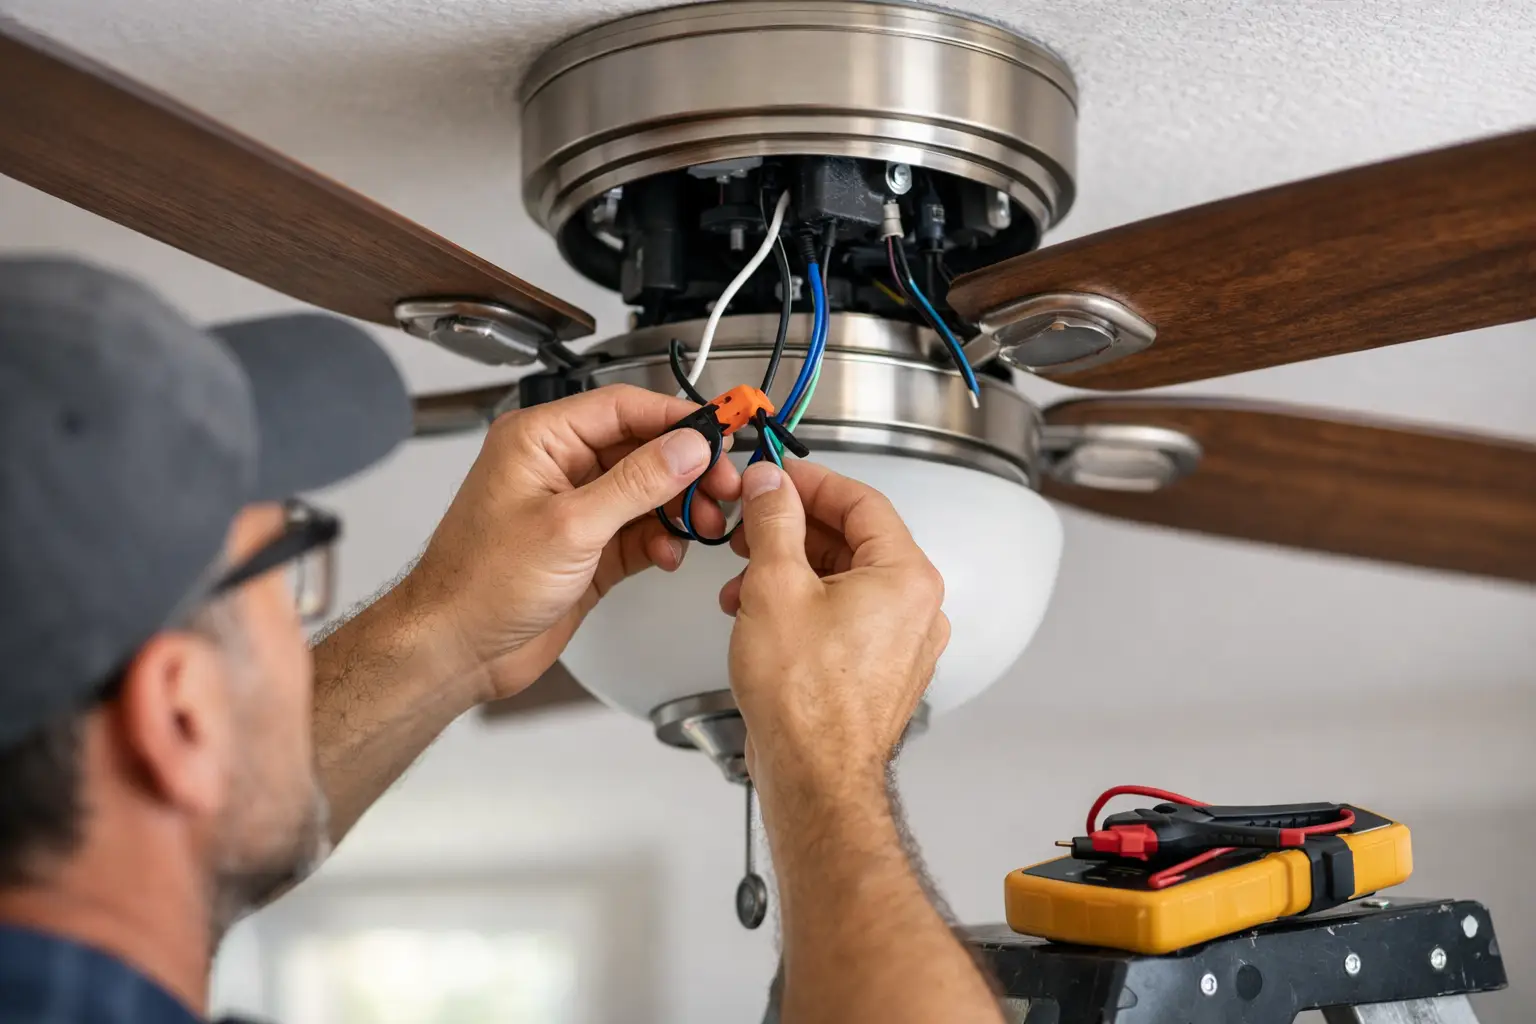
A ceiling fan that wobbles, hums, or trips the breaker usually points to a bigger issue than the fan itself. If you are looking up how to wire ceiling fan correctly, the goal is not just getting the blades to spin. It is making sure the fan is supported properly, the wiring matches the circuit, and the installation is safe for your home.
That matters more than most people think. Ceiling fans are heavier than standard light fixtures, and they move. A loose connection inside the box or a fan mounted to the wrong electrical box can turn into a real hazard fast. For some homeowners, this is a manageable replacement job. For others, especially when there is no existing fan-rated box, no ground, or confusing switch wiring, it is better handled by a licensed electrician.
How to wire ceiling fan without cutting corners
The first thing to know is that wiring a ceiling fan is not just about matching colors. The electrical box above the ceiling has to be rated to support a fan. A standard light box may hold a light fixture, but it is not always designed for the weight and movement of a fan. If the box is loose, cracked, plastic where it should not be, or not clearly fan-rated, stop there and fix that part first.
The second piece is understanding what kind of setup you have. Some fans run from a single wall switch that controls both the light and the fan together. Others have two switches, one for the fan motor and one for the light kit. Some are controlled by a remote receiver inside the canopy. Those setups use different wire connections, so there is no one-size-fits-all answer.
Before any wiring starts, turn off power at the breaker and verify the circuit is dead with a tester. Do not trust the wall switch alone. Plenty of service calls start with a switch turned off but the circuit still energized in the box.
Know the wires before you connect anything
Most modern ceiling fans and household wiring follow common color conventions, but older homes can be less predictable. In many installations, the house wiring will include a black hot wire, a white neutral wire, a bare or green ground, and sometimes a red switched hot wire. On the fan side, black typically controls the fan motor, blue controls the light kit, white is neutral, and green or bare is ground.
If your ceiling box has only one hot wire, the fan and light may need to be tied together unless the fan uses a remote module. If your ceiling box has both black and red, that often means separate switch control is available. That is a nice setup because you can run the fan and light independently from the wall.
The trouble starts when the wire colors do not match what you expect, or when you open the box and find multiple cables spliced together. That can mean the ceiling box is feeding another part of the circuit, not just the fan. In that case, guessing is a bad idea. The fan might work for a minute, but the rest of the circuit may not.
Basic ceiling fan wiring setups
If you are replacing an existing fan with a new fan and the old setup worked properly, the job is usually straightforward. Connect house ground to fan ground, house neutral to fan neutral, and then match the switched hot conductors based on the control setup.
For a single-switch installation, the incoming hot from the switch usually connects to both the fan black and blue wires if you want one switch to power both functions. The pull chains or remote then control the fan speed and light separately.
For a two-switch installation, the house black may connect to the fan black for the motor, and the house red may connect to the fan blue for the light kit. The white neutrals tie together, and all grounds tie together and bond to the bracket and box if required.
Fans with remote receivers add another layer. In that case, the house wiring feeds the receiver, and the receiver feeds the fan motor and light. You need to follow the manufacturer diagram exactly, because the receiver changes the normal connection path.
When the box and bracket matter as much as the wiring
A lot of homeowners focus on the wires and overlook the mount. That is a mistake. A fan-rated box should be firmly attached to framing or a listed brace designed for ceiling fans. The mounting bracket needs to be installed exactly as the manufacturer requires. If the fan canopy is not sitting right or the bracket feels loose, that is not a small issue.
This is one of the biggest differences between hanging a light and installing a fan. The fan puts stress on the box every time it runs. Even if the wiring is perfect, a weak mount can lead to noise, movement, and failure over time.
If you are adding a ceiling fan where only a light fixture existed before, inspect the box carefully. If there is no attic access and the box needs replacement, the job can get more technical fast.
Common problems when wiring a ceiling fan
The most common issue is a fan that gets power but does not respond correctly. Maybe the light works but the fan does not. Maybe the breaker trips. Maybe one wall switch controls nothing. Usually, the cause is one of three things: a misidentified hot wire, a loose neutral, or an incorrect connection between the switch leg and the fan leads.
Another common problem is no neutral in older switch loops. Some older homes were wired in ways that can confuse a basic fan installation, especially if you are trying to add separate controls where the conductors are not there. You cannot create a second switched function out of thin air. Sometimes the right fix is running new cable, not trying to repurpose whatever is in the box.
Then there is the issue of grounding. Older homes may have metal boxes and armored cable, or they may have no effective ground at the fixture location. A ceiling fan should be grounded properly. If it is not, that needs to be addressed before the install is considered complete.
How to wire ceiling fan with one switch or two
If you are figuring out how to wire ceiling fan controls, start with what you actually want the room to do. A bedroom might be fine with one switch and pull chains. A living room often works better with separate wall control for the light and fan. A rental property may need the simplest dependable setup, not the most customized one.
That is where the wiring in the wall matters. If you only have one switched conductor at the ceiling, separate wall-switch control usually means new wiring or a fan control system designed for that limitation. If you already have a 3-conductor cable with black, red, white, and ground, separate controls are more likely possible.
This is also why replacing an old fan is easier than changing the whole control arrangement. Replacement follows what is there. Reconfiguration means evaluating the switch box, the cable path, the breaker size, and sometimes the age of the wiring itself.
When it makes sense to call an electrician
There is no prize for forcing a fan install that does not fit the wiring you have. If the breaker trips, the box is not fan-rated, the wiring colors do not make sense, or the home has older electrical work, it is time to bring in a pro.
That is especially true if you are dealing with high ceilings, multiple switch locations, new fan installation where no fan existed before, or commercial property where reliability matters day to day. The same goes for homeowners who are already planning other electrical work. If you are upgrading lighting, replacing switches, or dealing with overloaded circuits, it often makes sense to have the fan installation handled at the same time.
For property owners around Bowling Green, getting the wiring right the first time saves money and avoids callback problems. M Power Electric LLC handles ceiling fan installation with the same focus we bring to panel work, troubleshooting, and service upgrades – safe wiring, solid workmanship, and no shortcuts.
A ceiling fan should be quiet, steady, and dependable every time you flip the switch. If the wiring behind it is questionable, that peace of mind is worth doing the job the right way.